Blue
-
tpinthepack
- Posts: 45
- Joined: Mon Mar 14, 2005 9:00 pm
Good Idea on the Rivnuts at the crossmember
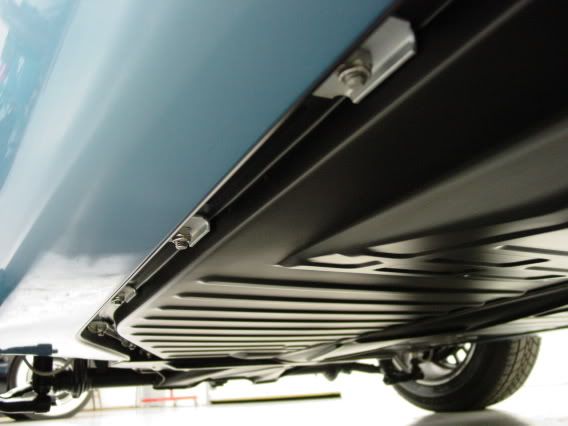
Looks like you drilled the front cross member and installed threaded rivets. I may borrow that Idea. Seams simple and clean. Love your sheetmetal work under the dash also. Great Buggy.
[QUOTE="tpinthepack"]Looks like you drilled the front cross member and installed threaded rivets. I may borrow that Idea. Seams simple and clean. Love your sheetmetal work under the dash also. Great Buggy.[/QUOTE] Thank you Tony - Yes there are two "Nutserts" in the front cross member . WOW you've got good eyes to have picked them out . I've called them rivnuts for years also - but the other day I noticed that the original box says "Nutsert".
I call them "rivnuts"...don't know why. If you use them you might want to get the air gun. Squishing them in with a bolt and washers is not pleasant.(and bad for the threads) There are about 100 of them on my yellow car that hold the aluminum floor on and the glass hood in place. I had to replace about 20% of them from the 30 year atmosperic test it went through. They work very well for securing panels etc.
-
tpinthepack
- Posts: 45
- Joined: Mon Mar 14, 2005 9:00 pm
Rivnuts
[QUOTE="fubar"]I call them "rivnuts"...don't know why. If you use them you might want to get the air gun. Squishing them in with a bolt and washers is not pleasant.(and bad for the threads) There are about 100 of them on my yellow car that hold the aluminum floor on and the glass hood in place. I had to replace about 20% of them from the 30 year atmosperic test it went through. They work very well for securing panels etc.[/QUOTE] I have a tool for installing them. It is a rivet gun that has 6 different shafts all threaded metric. I usually use the 5mm for bicycle waterbottle bosses, and the 6mm for VW fan shrouds to attach coil and similar. But now I am on a hunt for 8mm rivnuts to use for the front of the chassis crossmember. Great Stuff guys. Thanks.
-
BuggyFaron
- Posts: 13
- Joined: Fri Aug 19, 2005 8:00 pm
Blue
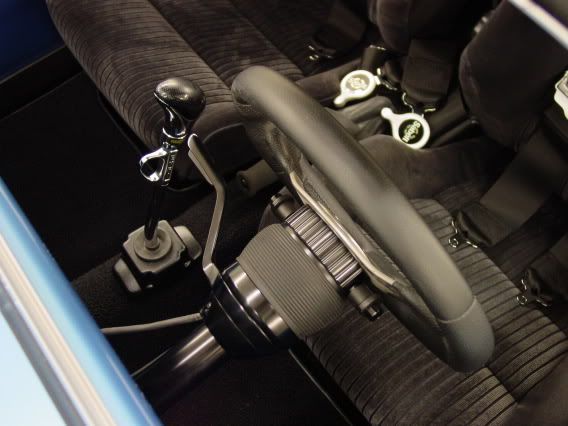
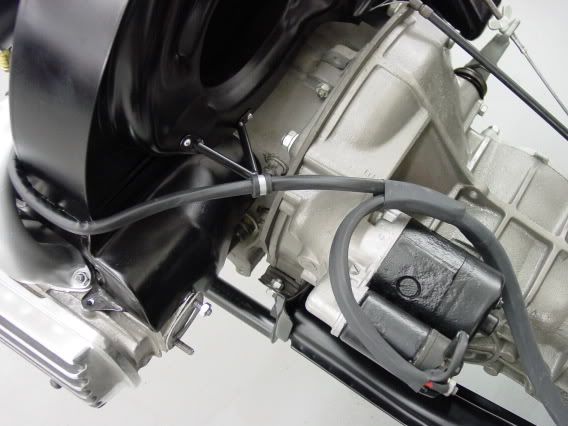
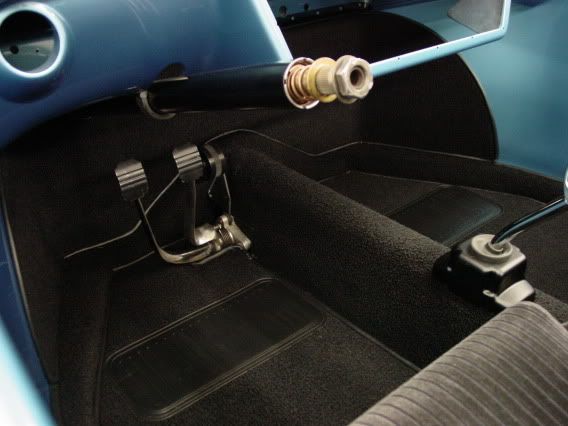
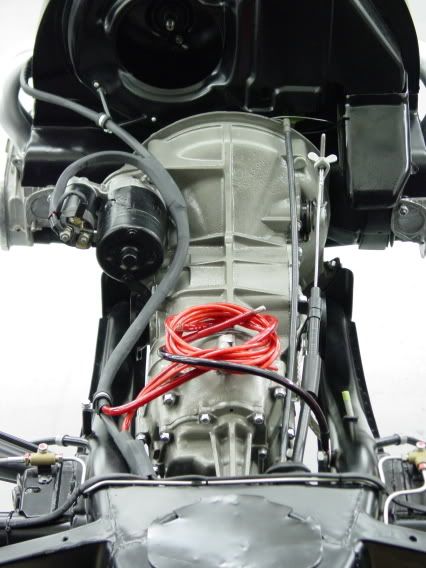
[QUOTE="BuggyFaron"]Every time I come to this site I check this thread in hopes that I might find something new. I know that you have done something to this good looking buggy since March 25TH, now show us. PLEASE! I really like this buggy, and find it inspiring![/QUOTE] Really Have not gotten much done due to family issues recently. Only just got back to it in the past few weeks and then got held up because of defective suspension parts.Finally got a machine shop to make the part correctly as the supplier said "we have been selling them like that for years and you are the first person to question them " Even though their parts manager agreed with me that the suspension parts were defectively made and dangerous .Here are a few fotos even though they don't show much progerss. 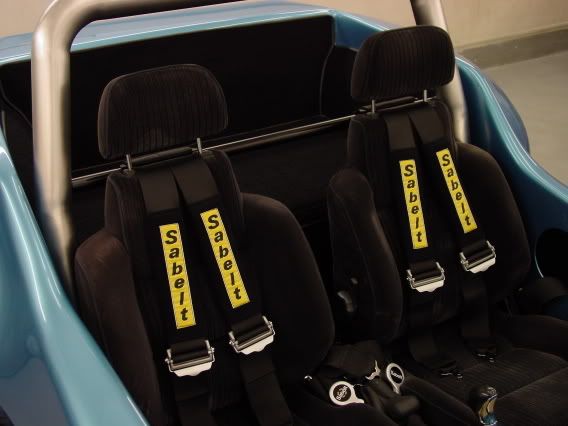
-
Siggymanx33
- Posts: 353
- Joined: Thu Apr 22, 2010 5:00 am
Camera
Dave -- The camera is a Sony Cyber-shot # DSC-S75/S85 . It is about 6 yrs. old .Don't know if they are still available . Probably have been updated quite a bit . I usually take photos on the highest resolution and try not to use flash . When I down load them I let the web site "Photo Bucket " minimize them to the correct size as I am computer illiterate. Tom
-
vincent9993

- Posts: 794
- Joined: Tue Apr 13, 2010 5:00 am
Hi Tom, I love how clean your ride looks! It's an inspiration... Mind telling me what was involved in the carpeting and how you got it to look so OEM? I would love to get my ride to look this clean one day! Well done!
Vincent Parisien
MC Director - MC 2696
Long Haul League, '69 Kick-Out-S.S., '59 Berrien Nostalgia, '73 Manxter (in progress)
Trips
MC Director - MC 2696
Long Haul League, '69 Kick-Out-S.S., '59 Berrien Nostalgia, '73 Manxter (in progress)
Trips
- 2009 Montreal California (7K miles)
- 2010 Montreal Key West (4K miles)
- 2011 Montreal Alaska (7,5K miles)
- 2012 Montreal California (8K miles)
- 2013 Montreal California (7K miles)
- 2014 ECVW (7,5K miles)
- 2015 ECVW (7,5K miles)
Carpet
Vincent If you don't already know how- take the time and learn how to do carpet work yourself.It may take longer but you'll be happier with it in the end. You could probably find an upholstry person who could do it just like you want but it may take you a long long time to find that person.I've been restoring cars for 35 years and have only met 2 guys who do absolutely astonishing work.It is so perfect you can't believe it's real when you're looking at it .But they are in such demand and charge so much I never even contacted them.I had a local upholstry shop do my carpet but they just could not seem to get the piece that covers the body to pan mounting flange right,so I bought some more of the carpet from them and experimented with it to find out which way it flexed best - made a bunch of different templets, transfered them to the carpet and finally got that piece to mount cleanly.Another thing you might try is going to a bunch of local car shows and when you find a vehicle with a really well done interior find out who did it and contact them.In hindsight thats what I should have done. Tom